
The Hidden Cost of Disorder in Zenless Zone Zero: How Anomaly Timing Determines Real Team Damage
In Zenless Zone Zero, a team can have powerful Agents, well-developed equipment, and strong individual attacks yet still perform below its potential. One reason is that players often treat Attribute Anomalies as effects that should be triggered as quickly as possible, without considering how their timing interacts with the rest of the team. This is particularly important for teams built around Disorder, the reaction created when a second Attribute Anomaly replaces an existing one on an enemy.
Disorder creates a demanding combat problem: players must coordinate elemental buildup, character switching, buffs, energy, enemy vulnerability, and attack timing. Applying an Anomaly is not always the end of a rotation. In many teams, it is the beginning of a short decision window in which the next action determines how much value the previous actions produce.
The fundamental challenge is that the player is managing two things simultaneously: the enemy's current status and the team's readiness to exploit that status. Applying the second Anomaly too early may interrupt an unfinished plan, while waiting too long can waste the opportunity to trigger Disorder efficiently. Switching to a support character at the wrong moment can also delay buildup or allow a useful buff to expire before the main damage sequence begins.
This makes Disorder a useful lens through which to understand the deeper combat design of Zenless Zone Zero. The strongest rotations are not simply sequences of high-damage moves. They are coordinated processes in which every action prepares the conditions for the next one.
The following analysis examines this problem from the opening seconds of combat through full team rotations, enemy stun windows, resource management, and long-term build decisions. The goal is not to prescribe one universal team composition, but to explain how players can recognize and correct inefficient Anomaly timing.
1. Understanding the First Anomaly Before Building a Rotation
The first step in managing Disorder is understanding what happens when an Agent builds up an Attribute Anomaly. Agents dealing elemental damage accumulate buildup on enemies, and once the relevant threshold is reached, the enemy receives an effect associated with that attribute. Depending on the element, this may produce damage over time, an immediate damage event, interruption, or another status effect. When a different Attribute Anomaly is applied while an earlier one is active, Disorder can trigger. These systems are described in the game's combat documentation and community mechanics guides.
The practical implication is that Anomaly buildup should not be treated as a generic meter that is always better when emptied immediately. The current status of the enemy matters. If the team has already applied one Anomaly, the next character's actions may be preparing a Disorder trigger. The player should understand which effect is active, how close the next effect is to being applied, and whether the team is ready to exploit the reaction.
The first status effect is part of a larger plan
Consider a team that uses one Agent to apply an initial Anomaly and another Agent to trigger the next one. The first Agent's contribution is not limited to the damage dealt when the Anomaly activates. That application creates a temporary opportunity for the second Agent to trigger Disorder.
The player should therefore avoid evaluating the first Agent only by looking at the immediate damage number. The more useful question is whether the initial Anomaly was applied at a moment when the team could follow up efficiently.
Reading the enemy's condition
Before committing to a full rotation, check the enemy's status and the team's available resources. Identify the active Anomaly, determine which Agent is best positioned to apply another, and check whether important buffs or EX Special Attacks are ready.
This small pause can prevent a common mistake: continuing to attack with the wrong character simply because that character is currently on the field. A well-timed switch may contribute more to the whole rotation than another ordinary attack.
2. Why Applying Anomalies as Fast as Possible Can Be Inefficient
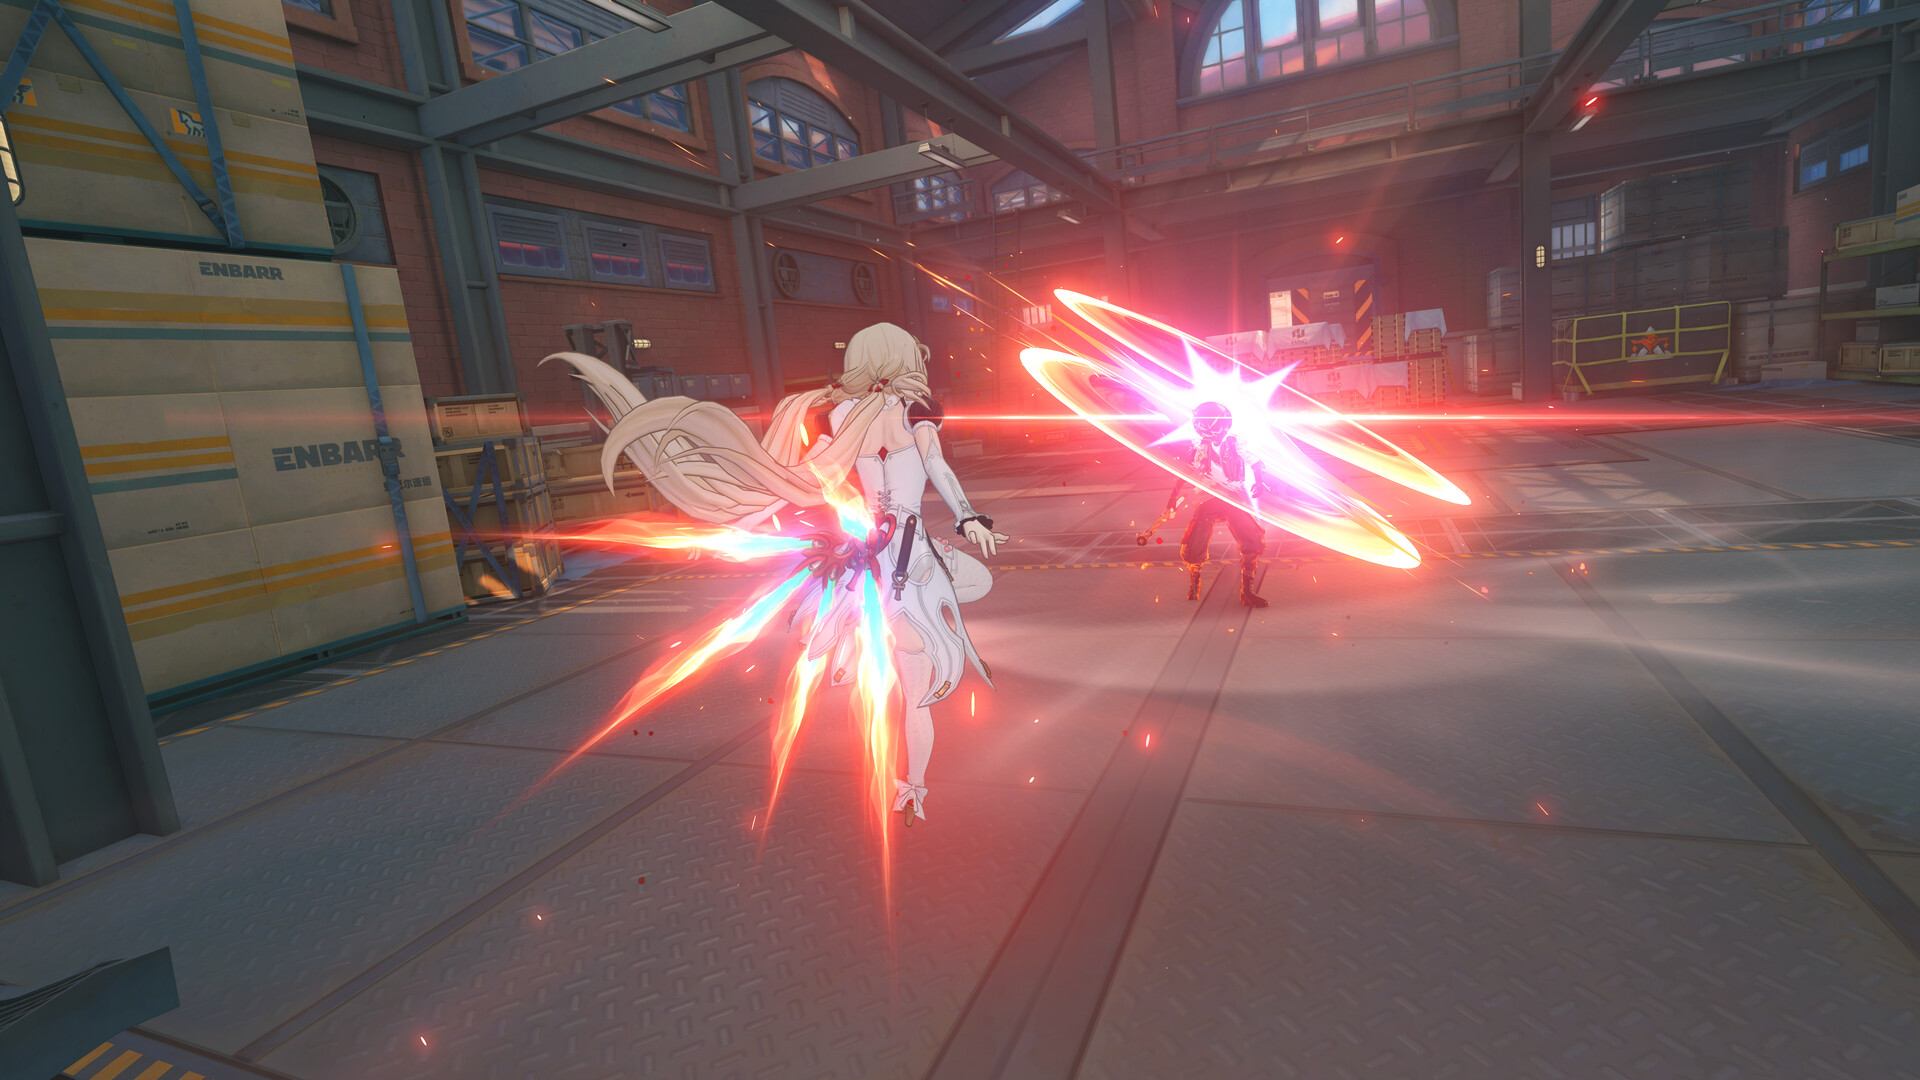
Fast buildup is valuable, but speed alone does not guarantee an efficient rotation. A player may reach the next Anomaly threshold quickly while failing to prepare the damage sequence that should follow it. For example, a support's buff may not be active, a key EX Special Attack may lack enough energy, or the intended damage dealer may be unavailable when the reaction occurs.
This is the difference between maximizing an individual action and optimizing a sequence. A rapid Anomaly application can be impressive in isolation, yet the total rotation may be weaker if it forces the player to use important skills outside their best window. The objective is not merely to trigger Disorder frequently; it is to make those triggers coincide with the team's strongest available damage conditions.
The cost of premature triggering
Imagine that the first Agent has nearly completed an important setup sequence, but the second Agent's attacks trigger the next Anomaly earlier than expected. The reaction occurs, but the team may not yet have activated its strongest support effects. The player now has to choose between using the current window imperfectly or delaying further setup while the combat situation continues to change.
That is why the buildup meter should be read alongside the team's rotation. A player who understands the threshold can often prepare the next character before the Anomaly is triggered, reducing the time between the reaction and the follow-up damage.
A better rule for buildup
Instead of asking, “How quickly can I trigger the next Anomaly?” ask, “What should be ready when the next Anomaly triggers?”
That question changes how the player approaches character switching. It encourages preparation, awareness of energy levels, and deliberate sequencing rather than repeated attacks without a plan.
3. Building a Two-Agent Anomaly Sequence
A Disorder rotation often begins with a clear division of responsibility: one Agent applies an initial Anomaly, and another applies a different one. The exact order depends on the team's attributes, passives, equipment, and encounter. What matters is that the player understands each character's role in the sequence instead of treating both as interchangeable sources of damage.
The first Agent builds the initial status. The second Agent creates the reaction by applying a different Attribute Anomaly. After the reaction, the team must decide whether to continue building another sequence, use a support skill, or capitalize on a temporary opening. A rotation becomes inefficient when the player continues following a memorized button order even after the enemy's status or the team's resources no longer match the intended plan.
Assigning clear roles
A practical approach is to identify three functions within the team:
- The starter establishes the first Anomaly.
- The trigger applies a different Anomaly and activates Disorder.
- The support or follow-up Agent improves the sequence through buffs, utility, or additional damage.
One Agent may fulfill more than one role, depending on the team. These labels are not rigid character classes. They are a way to organize the player's decisions and understand why each switch happens.
When the order should change
The best order is not necessarily identical in every encounter. Enemy resistances, vulnerabilities, starting resources, available buffs, and attack opportunities can change the value of the sequence. If an enemy is especially resistant to one attribute, forcing that attribute into the rotation may reduce efficiency even if the planned sequence is otherwise convenient.
Players should also account for how quickly a particular Agent builds their Anomaly. A character who reaches the threshold rapidly may be better suited to the second position in a rotation, while a slower buildup character may need to begin earlier. The aim is to align the two Agents' contributions so the reaction happens at a useful moment.
4. Character Switching Is Part of the Damage Calculation
Zenless Zone Zero allows players to control one Agent at a time while switching between members of a squad of up to three. Switching makes it possible to combine abilities and coordinate the team's different combat roles. Energy, EX Special Attacks, Dodge Counters, assists, and other systems also affect how a rotation unfolds.
Because of this, switching should not be treated as downtime between attacks. It is a decision about which character should control the next stage of the rotation. Every unnecessary switch can interrupt a sequence, while a delayed switch can leave a prepared character waiting off-field when their contribution would be most valuable.
Switch with a purpose
Before switching, know what the incoming Agent is supposed to accomplish. Are they applying the second Anomaly? Activating a buff? Spending available energy? Taking advantage of an enemy's vulnerable state? If the player cannot answer that question, the switch may be happening out of habit rather than necessity.
This does not mean every action must be planned several seconds in advance. Combat remains dynamic, and defensive actions may force the player to change course. However, having a clear purpose makes it easier to recover when a dodge, enemy attack, or unexpected interruption breaks the intended sequence.
Reducing dead time
Dead time is the interval in which the team is not making meaningful progress toward its next objective. It may occur because the player switches too late, uses an unnecessary animation, waits for energy without adjusting the plan, or keeps attacking with a character who has already completed their main task.
To reduce dead time, players should learn the practical rhythm of each Agent. Know which attacks build Anomaly efficiently, which skills consume significant energy, and when a character can safely leave the field. The purpose is not to eliminate every frame of inactivity, but to avoid delays that do not contribute to damage, safety, or preparation.
5. Disorder Timing and the Value of Enemy Vulnerability
Anomaly timing becomes more complicated when the enemy is approaching or entering a Stun state. Daze accumulates as enemies are hit, and reaching the threshold causes them to become stunned, creating an opportunity for increased damage and powerful follow-up attacks. The combat system therefore presents two overlapping opportunities: the Anomaly sequence and the Stun window.
The player must decide how these opportunities should interact. Triggering Disorder immediately may be valuable, but holding a prepared action briefly could be worthwhile if it helps align the next damage sequence with a more favorable enemy state. The correct choice depends on the character kit, active buffs, enemy behavior, and how long the player can reasonably delay without losing the existing opportunity.
Do not confuse waiting with optimization
Waiting is not automatically better. If the player delays an Anomaly merely to chase a theoretically perfect Stun window, the enemy may attack, the team may lose positioning, or the intended sequence may become less reliable. An optimized rotation must work under actual combat conditions, not only on paper.
A useful method is to compare the value of acting now with the value of waiting. If the enemy is close to being stunned and the team is ready to exploit that state, a short delay may make sense. If the enemy is about to recover, move away, or interrupt the team, immediate action may be safer and more productive.
Preparing the follow-up
The best time to prepare for a Stun window is before it begins. Monitor the Daze meter while building Anomalies, and consider which Agent should be active when the enemy becomes vulnerable. This prevents the player from reaching the window with the wrong character on the field or without enough energy to execute the intended sequence.
In practical terms, the rotation should be built around a sequence of conditions: establish the first Anomaly, prepare the second Agent, monitor Daze, trigger Disorder at a sensible moment, and exploit the resulting combat opportunity without wasting time on unnecessary switches.
6. Energy Management: Why a Strong Skill Can Arrive Too Late
Energy is another limiting resource in Zenless Zone Zero. Agents gain energy through systems including regeneration and combat actions, and EX Special Attacks require sufficient energy. Because each Agent has their own energy bar, the player must consider not only the current character's resources but also the resources available across the squad.
This creates a common rotation problem: the player knows which skill would improve the next sequence, but the intended Agent cannot use it yet. If the player has planned the entire fight around a skill that is unavailable at the required moment, the rotation becomes fragile.
Separate available actions from ideal actions
A useful distinction is between what the team could do in a perfect sequence and what it can do right now. An ideal rotation may depend on a fully charged EX Special Attack, but a real fight may begin with limited energy. The player should not repeatedly wait for a perfect setup if doing so sacrifices valuable opportunities.
Instead, identify the next useful action that is currently available. That may be a basic attack string, a defensive counter, a lower-cost skill, or a switch to another Agent who is ready to contribute. This keeps the team moving toward its objective while resources regenerate.
Avoid spending energy without considering the next cycle
An EX Special Attack can be useful immediately, but spending energy at the wrong time may leave the team unable to execute a more important sequence shortly afterward. This does not mean energy should always be saved. Hoarding a resource while losing damage opportunities can be just as inefficient as spending it carelessly.
The right question is whether the current use improves the whole rotation. If the skill helps apply an Anomaly, activate a necessary effect, or exploit a vulnerable enemy, spending the energy may be correct. If it merely adds damage while leaving the team poorly positioned for the next reaction, saving it may produce better overall results.
7. Attribute Choice and Enemy Resistance
Disorder depends on applying different Attribute Anomalies, but the value of an attribute is influenced by the encounter. Zenless Zone Zero includes multiple attributes and enemy vulnerabilities, so team composition should account for the enemies being faced rather than relying on a single sequence in every situation.
A team may execute its rotation cleanly and still perform poorly if the chosen attributes are poorly matched to the target. Conversely, a well-matched team may generate better results even if its rotation is less complicated. This is why damage optimization begins before combat: team selection determines which reactions, weaknesses, and tactical options are available.
Match the rotation to the target
Before entering a difficult encounter, examine the enemies and consider whether the team's attributes are suitable. If a target resists one of the team's primary damage types, that should influence the expected value of the rotation. It may be better to use a different team when the encounter allows it, rather than trying to solve a composition problem through execution alone.
Attribute selection should also account for the roles of the Agents. A team needs to apply Anomalies consistently, but it also needs enough utility and survivability to continue operating. The best composition is not necessarily the one with the most elaborate reaction chain; it is the one that can reliably produce value against the actual enemy.
Avoid building around one ideal scenario
A rotation that performs well against a stationary enemy may be less effective against a mobile target or a boss that frequently interrupts attacks. Similarly, an enemy with a short vulnerability window may demand a different sequence from a target that allows sustained buildup.
Players should therefore evaluate a team across multiple encounters. If the rotation only works when every action connects perfectly, it may be too fragile for demanding content. A slightly simpler sequence that consistently applies Anomalies and capitalizes on openings can be more effective in practice.
8. Diagnosing a Weak Rotation Through Combat Results
When a team deals less damage than expected, the first response is often to improve equipment or character stats. Those upgrades can matter, but they may not address the actual problem. A rotation can lose substantial value through poor sequencing, delayed switches, wasted energy, or Anomalies triggered at unhelpful times.
The better approach is to diagnose the combat sequence before making expensive changes. Watch where the enemy's status changes, when the team spends energy, and whether the important attacks happen during useful vulnerability windows. Look for repeated delays rather than blaming one missed input.
A practical review checklist
After a difficult encounter, ask:
- Did the first Anomaly prepare a useful Disorder trigger?
- Was the second Agent ready when the first Anomaly was active?
- Did a switch delay the next important attack?
- Was energy spent on a skill that improved the rotation?
- Did the team exploit the enemy's Stun state effectively?
- Were important attacks weakened by resistance or poor positioning?
- Did defensive interruptions force the player to abandon the planned sequence?
These questions help identify whether the weakness comes from composition, execution, or resource management. That distinction matters because each problem requires a different solution.
Change one variable at a time
If the rotation appears inefficient, avoid changing the entire team immediately. First try changing the order of the Anomaly applications. If that does not help, adjust when the support skill is used. Then examine energy spending or the timing of the Stun window.
Changing one variable at a time makes the result easier to understand. It also prevents a common trap in action RPGs: replacing several characters or pieces of equipment without discovering which part of the original strategy was actually failing.
9. Building a More Reliable Rotation for Difficult Content
A reliable Disorder rotation should have a clear opening, a defined reaction sequence, and a flexible recovery plan. The opening establishes the first Anomaly while allowing the player to assess the enemy's behavior. The reaction sequence prepares the second Agent and triggers Disorder when the team is ready. The recovery plan determines what to do if the enemy moves, interrupts the sequence, or survives longer than expected.
This structure is more useful than memorizing a rigid list of inputs. A rigid sequence can fail as soon as an enemy dodges, attacks, or enters a different state. A structured plan gives the player a purpose for each action while allowing adjustments when the battle changes.
A three-part framework
Part One: Establish. Use the appropriate Agent to build the initial Anomaly while observing the enemy's behavior and the team's resources.
Part Two: Prepare and trigger. Switch to the Agent who can apply a different Anomaly, making sure that important skills or buffs are ready when the reaction occurs.
Part Three: Exploit and reset. Use the resulting opportunity to deal damage, take advantage of enemy vulnerability, and prepare the next cycle. If the original plan has been disrupted, rebuild the sequence rather than continuing blindly.
This framework is intentionally flexible. Different Agents may require different amounts of field time, and some teams may include more complex interactions. The purpose is to ensure that the player understands why each phase exists.
What to do when the sequence breaks
If the enemy moves away, prioritize safe positioning and rebuild the Anomaly sequence when an opportunity appears. If the planned Agent lacks energy, use available actions to maintain pressure rather than waiting indefinitely. If the enemy enters Stun earlier than expected, exploit the opening with whichever meaningful damage options are ready.
The important principle is to preserve the purpose of the rotation even when its exact sequence changes. A good player does not need every battle to follow the same script. They need to understand which conditions make the team effective and how to restore those conditions after an interruption.
10. Turning Disorder Timing Into Long-Term Account Progress
Once players understand the rotation problem, their progression decisions become more deliberate. Instead of investing resources simply because a character is popular or a damage number looks impressive, they can evaluate how an Agent contributes to the team's actual combat sequence. An Agent may be valuable because they build Anomaly quickly, trigger a useful reaction, provide a buff, improve survivability, or make the rotation more reliable.
This approach also makes equipment decisions more meaningful. Stats that improve buildup, damage, or resource availability should be evaluated in relation to the character's role. An improvement that helps an Agent reach an Anomaly threshold at a useful time may be more valuable to the rotation than a small increase that does not change any important timing.
Invest in the bottleneck, not just the damage dealer
If the team consistently struggles to apply its second Anomaly, examine the character responsible for that part of the sequence. If the team triggers Disorder reliably but deals disappointing damage afterward, review the follow-up Agent, support timing, and enemy vulnerability. If the rotation is interrupted because the key skill is rarely available, examine energy requirements and the way the skill is being used.
This is a more efficient way to approach progression because it links upgrades to observable combat problems. It also helps prevent unnecessary resource spending on characters or equipment that do not address the team's primary weakness.
A final principle for advanced play
The best Disorder team is not necessarily the one that triggers reactions most frequently. It is the team that consistently converts its setup into meaningful damage while remaining adaptable to enemy behavior.
Players who understand this can evaluate a team in terms of reliability, timing, resource efficiency, and matchup suitability. Those qualities matter particularly in difficult content, where one missed window or one poorly timed skill can change the outcome of a fight.
Conclusion
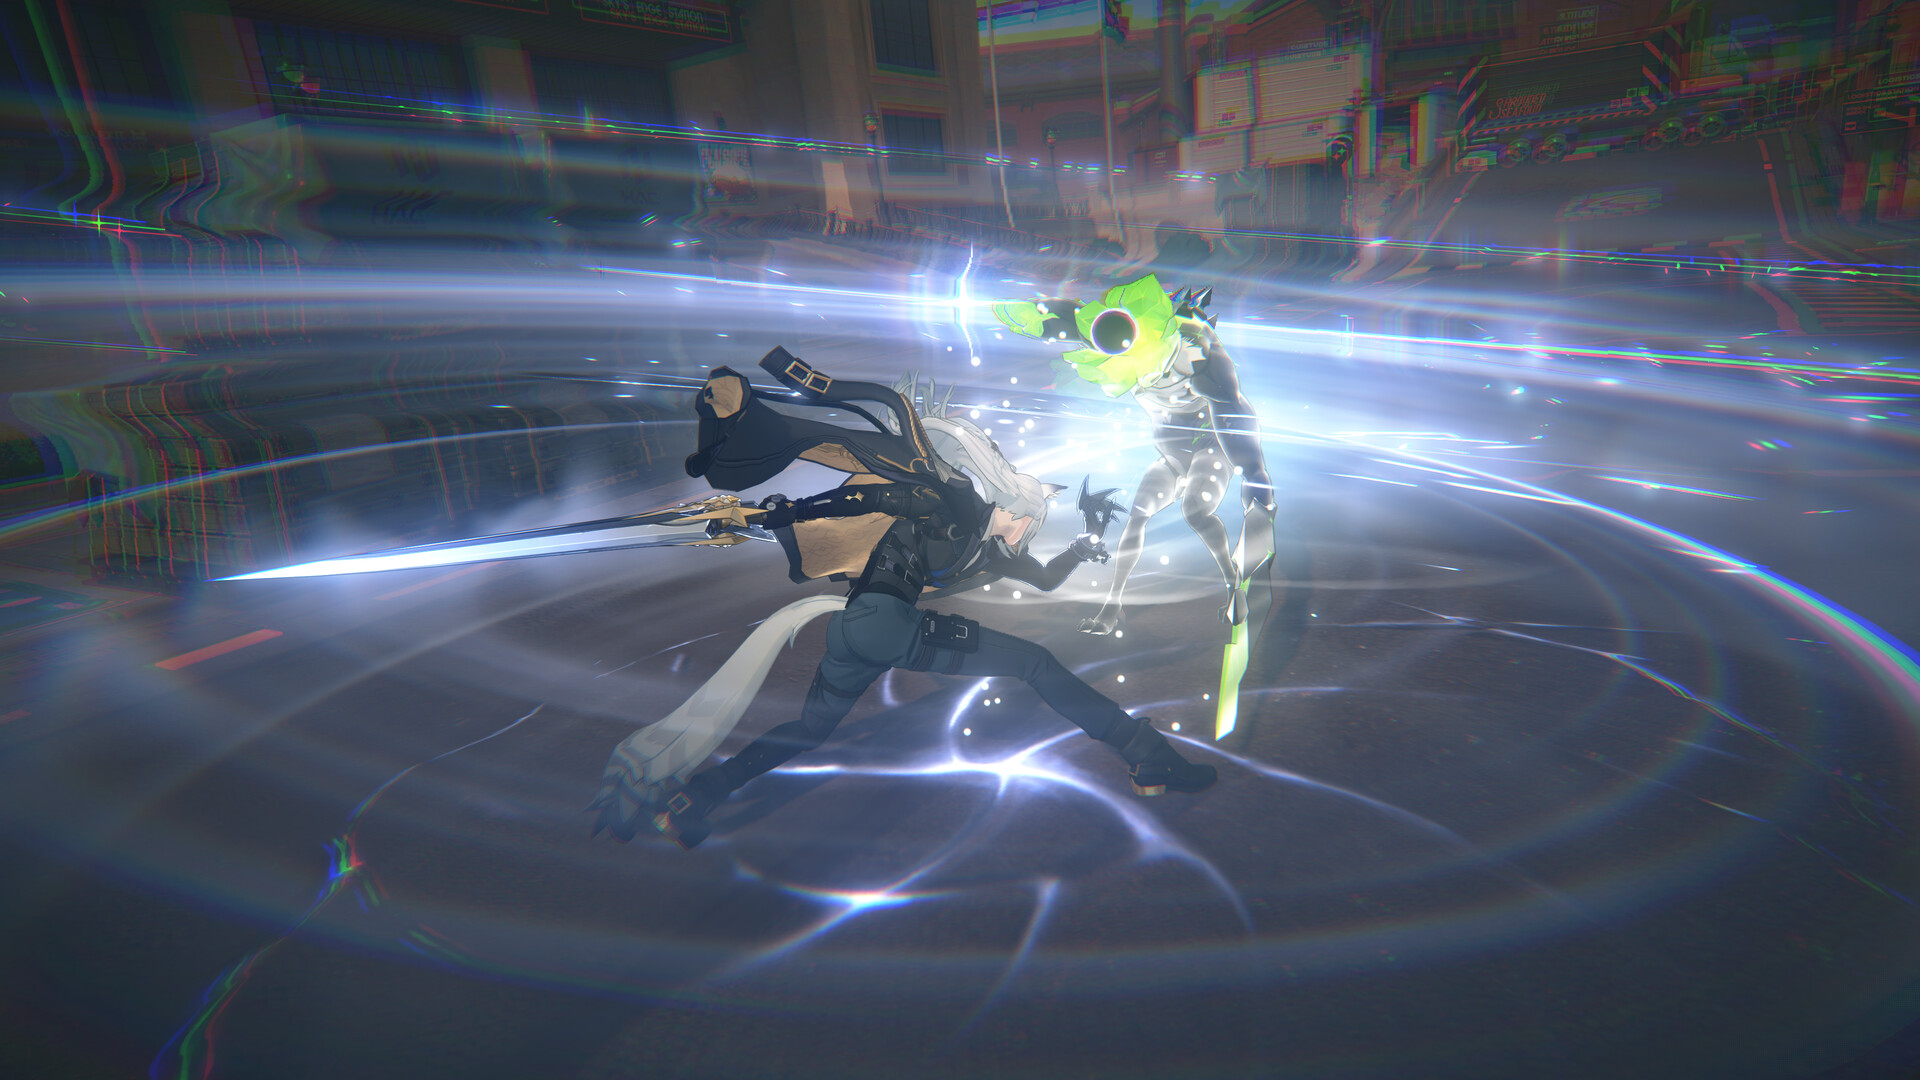
The most important challenge in Zenless Zone Zero's Disorder-based combat is not simply applying two different Attribute Anomalies. It is coordinating those effects with character switching, energy, enemy vulnerability, and the team's broader damage sequence. Anomaly buildup creates the conditions for Disorder, but the reaction only reaches its full practical value when the team is prepared to exploit it.
This explains why fast rotations are not automatically strong rotations. Triggering an Anomaly immediately may waste a useful setup opportunity, while waiting for a perfect sequence can also be inefficient if the enemy is about to move or interrupt the team. The player must constantly balance preparation against action.
The most reliable solution is to think in phases. Establish the first Anomaly, prepare the second Agent, trigger Disorder at a useful moment, exploit the enemy's condition, and then rebuild the sequence according to the resources and opportunities that remain. Energy should be spent when it contributes to the larger plan, not simply because a skill is available. Team composition should account for enemy resistance and the roles required to sustain the rotation. Combat results should be reviewed for timing problems before expensive upgrades are made.
Ultimately, Disorder is best understood as a coordination problem. Every Agent contributes something to the sequence, and the value of that contribution depends on when it happens. A powerful skill used at the wrong time can be less valuable than a modest action that prepares the next reaction. A well-built team can underperform if its members are not coordinated, while a carefully managed rotation can extract more value from the same roster.
The central lesson is simple: do not optimize each attack in isolation; optimize the chain of decisions that makes the next attack stronger. Once players approach Zenless Zone Zero this way, Anomaly management becomes more predictable, team rotations become easier to adapt, and combat performance becomes less dependent on repeating a memorized sequence and more dependent on understanding the battle itself.