
How to Play DREADMOOR – A Beginner’s Guide to Surviving the Submerged Lands
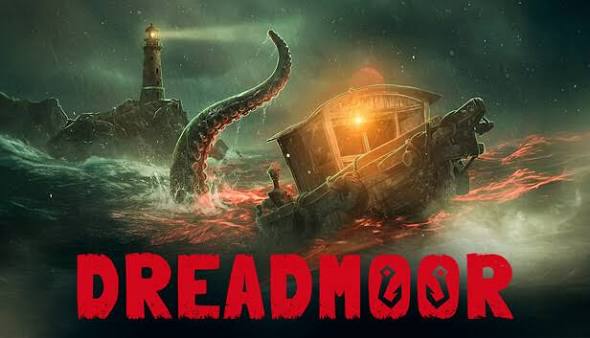
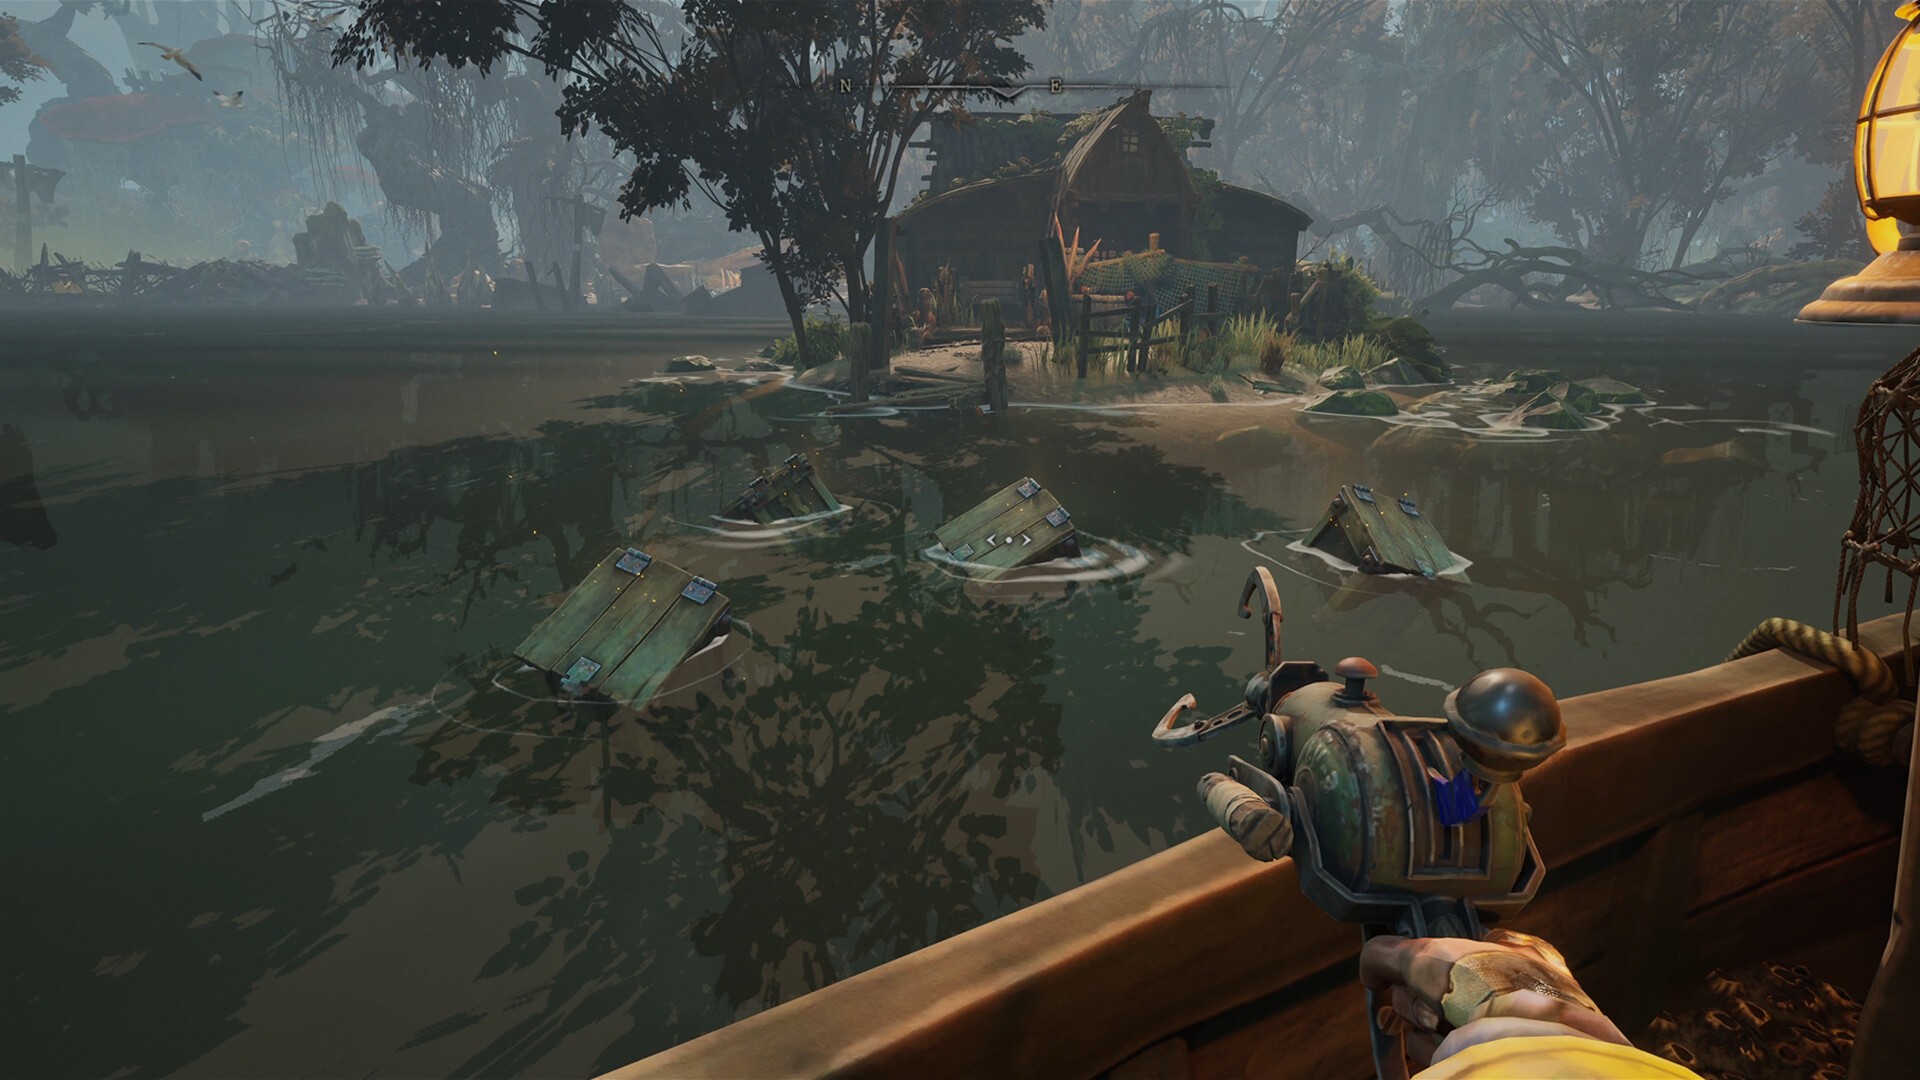
Atmospheric horror adventures have become increasingly popular because they allow players to experience continuous progression while mastering tense, high-stakes survival mechanics. DREADMOOR takes this concept further by transforming a flooded, post-apocalyptic world into a haunting maritime frontier where you play as Malcolm, a lone fisherman sailing murky waters, catching mutated creatures, and uncovering the mystery behind his missing family. Unlike relaxing simulation games where casting a line is completely safe, DREADMOOR blends deep fishing mechanics with boat maintenance, resource scavenging, and psychological dread, making every expedition out of port a genuine test of nerve and preparation.
Although the game introduces basic controls during the opening prologue around the Church Settlement, many beginners quickly hit progression walls because they burn through fuel recklessly, neglect hull polyps, or use the wrong bait for mutated fish. Knowing how to manage fuel larvae, balance processing versus selling your catch, and prepare for dangerous nighttime waters can dramatically increase your efficiency. This guide explains how to play DREADMOOR step by step, covering everything from repairing your starter boat in the Dry Dock to surviving the deepest waters of the Submerged Lands.
Understanding the Core Gameplay Loop
The foundation of DREADMOOR is an interconnected loop of maritime exploration, specialized fishing, survival crafting, and vessel upgrades. Once you leave the safety of makeshift settlements built above the waterline, you pilot your trawler across fog-covered ruins and shifting currents to locate active fishing spots and floating salvage. Catching fish provides both currency when sold to local traders and raw organic materials when processed in the Grinder, which directly fuels your boat and crafting bench.
Unlike casual fishing titles that rely on simple button timing, DREADMOOR rewards careful expedition planning. Every trip away from the Trading Post consumes fuel, exposes your hull to submerged obstacles and hostile creatures, and accumulates speed-draining polyps beneath your vessel. Deciding how far to venture before returning to port determines whether you bring back a profitable haul or get stranded in pitch-black waters.
Core Gameplay Loop
- Prepare your boat with sufficient fuel cans, bait, and repair supplies before departing.
- Sail across the Submerged Lands using your map and compass to locate fishing spots and ruins.
- Reel in peaceful and predatory fish while scavenging scrap materials with your Hook Gun.
- Return to the Trading Post to process catches in the Grinder or sell them to Gill and Bozur.
- Reinvest coins and salvaged blueprints into stronger boat modules, rods, and survival tools.
Preparing for Your First Expedition
After launching DREADMOOR, your immediate objective in the prologue is securing basic tools and getting your vessel seaworthy. Search the abandoned house thoroughly for supplies like Metal Plates and Rope, grab the Hook Gun, and locate a fuel can to power up the generator at the Church Settlement. Once your boat is lowered into the water, use the Hook Gun to fish out floating consumables and repair the engine so you can pass through the river gates.
During these early hours, resist the urge to sail blindly into deep open waters. Follow the early storyline past the angler brothers' cabin to reach the Trading Post, where you will meet merchants Gill and Bozur and pick up your starter fishing rod in the flophouse. Staying close to the Big Hollow lets you learn fish behavior, practice docking cleanly at piers, and build a small reserve of coins without risking catastrophic hull damage.
Beginner Tips
- Follow early story quests first: Completing initial objectives for local traders naturally unlocks essential blueprints like the Wind-Up Tin lure and Rainbow Fin bait while teaching core mechanics.
- Scavenge every floating crate and ruin: When mooring at docks or passing debris, use your Hook Gun to collect Metal Plates, Bug Slime, and barrels, as crafting materials are vital for upgrades.
Learning the User Interface and Navigation Tools
The interface in DREADMOOR is designed to keep you immersed while delivering critical survival telemetry during tense voyages. When standing at the helm, your dashboard and HUD display compass orientation, fuel reserves, hull integrity, and a dedicated polyp indicator showing buildup on the bottom of your boat. Paying close attention to these instruments prevents sudden engine stalls or sluggish handling far from port.
Beyond boat gauges, mastering your regional map and radio is essential for survival. Opening your map while out on the water reveals nearby fishing spots and landmarks, allowing you to place custom markers that appear directly on your compass. Because dense fog and sudden weather shifts frequently obscure visual landmarks, relying on compass markers and sonar pings keeps you on course when visibility drops.
Important UI and Navigation Elements
- Boat Compass and Custom Waypoint Markers
- Fuel Level Gauge and Canister Rack Status
- Hull Integrity and Polyp Buildup Indicator
- Line Tension and Fish Exhaustion Meters
- Regional Map and Fishing Spot Icons
- Radio Frequency Tuner for Story Transmissions
Mastering Fishing Mechanics, Rods, and Baits
Fishing in DREADMOOR is an active tug-of-war that tests both your equipment setup and your patience. Different regions harbor distinct species, ranging from common Snappers and peaceful Softgrazers to aggressive predatory Harpooners and Rivetbacks. Once a fish bites, you must pull your rod in the opposite direction of the creature's movement to drain its stamina while carefully releasing the reel whenever the line tension meter approaches its red limit.
Upgrading your fishing rod across its three core components directly determines which waters you can farm safely. Alongside rod parts, matching the proper bait category to your target species is mandatory, as many mutated fish will ignore unsuitable lures completely.
Core Fishing Rod Components
- Rod: Controls how quickly you drain a hooked fish's exhaustion meter during a fight.
- Reel: Governs thrust power, allowing you to pull heavy catches toward the boat faster.
- Line: Determines overall line strength so large mutated predators do not snap your rig.
Bait Selection Strategy
- Earthworm: Ideal for basic starter catches like Snapper right off the Trading Post pier.
- Wind-Up Tin: Crafted from Metal Plates and Fish Meat to attract peaceful species like Softgrazer.
- Rainbow Fin: Essential specialized lure for hooking aggressive predatory fish such as Harpooner.
Processing Catches vs. Selling for Profit
Every time you haul a catch onto your deck, you face a crucial economic decision: sell the fish directly to Gill and Bozur for coins, or feed it into the Grinder at the Trading Post. Selling whole catches—especially valuable predatory species—generates the cash needed to buy rare mechanical parts like Carburetors and unlock expensive blueprints.
However, processing fish in the Grinder is equally vital because it yields Fish Meat and specialized biological crafting components. Fish Meat serves as the primary food source for the Fuel Larvae that generate fuel for your boat, meaning grinding a portion of every catch keeps your expeditions self-sustaining. Furthermore, you must separate predatory fish from peaceful fish inside your storage containers; leaving them together triggers a red warning icon, and the predators will gradually eat your peaceful catches before you reach port.
Catch Management Rules
- Separate predatory and peaceful catches into different containers immediately.
- Process low-value common fish in the Grinder to maintain a steady supply of Fish Meat for fuel.
- Sell high-value predatory fish at the shop when saving coins for major engine or rod upgrades.
- Retain quest-specific fish in dedicated storage until you deliver them to NPCs.
Maintaining and Upgrading Your Trawler
Your trawler is both your sole mode of transportation and your mobile lifeline across the Submerged Lands. Over time, barnacle-like Polyps attach themselves to the underside of your hull, drastically reducing your top speed and making it harder to outrun threats. Whenever the polyp indicator climbs or your hull takes impact damage, moor inside the Dry Dock, raise the boat to the second level to blast off polyps with the Water Gun, and lower it to patch hull sections using the Repair Gun loaded with Bug Slime.
As you gather Torn Pages and Scraps of Knowledge across the map, invest in the Upgrade Tree to reinforce your vessel. Prioritizing propulsion, durability, and fuel capacity ensures you can reach distant ruins without running dry mid-voyage.
Boat Upgrade Priority
- Engine and Propeller: Increases cruising speed and responsiveness when navigating strong currents or escaping monsters.
- Hull Protection: Boosts structural durability against submerged rocks, reefs, and aggressive aquatic creatures.
- Fuel Tank and Canister Rack: Expands internal fuel reserves and lets you carry extra backup fuel canisters safely on board.
- Storage Capacity: Adds extra container space so you can separate fish types and haul more salvage per trip.
- Spotlight: Cuts through dense fog and pitch-black darkness during unavoidable nighttime navigation.
Surviving Nighttime Waters and Mutated Horrors
Daylight cycles in DREADMOOR pass quickly, and remaining out on the water after nightfall transforms calm fishing grounds into a lethal hunting ground. Darkness severely restricts visibility, spawns more aggressive aquatic monstrosities capable of capsizing your vessel, and increases psychological strain through audio anomalies and visual distortion. Until you install an upgraded Spotlight and a faster Engine, plan your expeditions so you dock before dusk.
When exploring flooded ruins and abandoned structures on foot, remember that DREADMOOR emphasizes evasion and resource conservation over prolonged gunfights. Land horrors react sharply to sound and movement, and ammunition for tools like the harpoon launcher is strictly limited. Crouch through unstable structures, conserve stamina for sprinting back to your pier, and avoid lingering in tight interiors when you hear unnatural audio cues.
Survival Guidelines
- Plan return routes early so you reach a settlement dock before nightfall.
- Avoid using the Afterburner casually, as it drains fuel reserves rapidly when you might need an emergency burst to escape.
- Keep backup fuel canisters in your rack and Bug Slime in your repair tool before entering uncharted sectors.
- Evade massive underwater entities rather than attempting to fight them head-on.
Common Beginner Mistakes to Avoid
One of the most frequent mistakes new players make in DREADMOOR is mixing every caught fish into a single storage box. Returning to the Trading Post only to discover that a single Rivetback devoured an entire batch of quest-required Bellybulge or Softgrazer wastes valuable fuel and daylight. Always check container warning icons and keep predators isolated.
Another common error involves neglecting hull maintenance and selling raw crafting components for quick cash. Ignoring polyp growth slows your boat to a crawl, burning extra fuel for every meter traveled, while selling rare Coral fibers or Metal Plates can soft-lock your crafting progress when a story quest demands specific tool upgrades.
Mistakes to Avoid
- Storing predatory and peaceful fish together in the same container.
- Ignoring polyp buildup on the bottom of your hull until your speed drops drastically.
- Selling rare crafting materials like Metal Plates, Coral fibers, or Bug Slime instead of storing them.
- Overusing the Afterburner boost during routine travel and running out of fuel at sea.
- Reeling continuously when a strong fish thrashes, causing your line to snap.
Advanced Exploration and Scavenging Strategies
Once your boat features reinforced Hull Protection, a stronger Engine, and an upgraded Spotlight, you can begin charting distant sectors of the Submerged Lands. Advanced exploration relies on combining regional map markers with environmental observation. Watch for shifting tides, water depth changes, and unusual radio crackles that signal hidden research facilities, logs, and Torn Pages needed to unlock high-tier blueprints.
Experienced fishermen also establish efficient farming circuits around known species habitats. By marking reliable spots for peaceful fish and high-value predators on your map, you can run fast, low-risk loops that stock your Grinder with Fish Meat while steadily funding endgame equipment upgrades.
Efficiency Checklist
- Clean hull polyps in the Dry Dock before starting any long-distance expedition.
- Carry at least two full spare fuel canisters in your rack at all times.
- Match rod, reel, line, and bait tiers to the specific species in your target zone.
- Mark high-yield fishing spots and unexplored ruins on your map for future runs.
- Harvest Coral fibers with your Axe whenever docking near shallow reef clusters.
Long-Term Progression and Uncovering the Mystery
As you advance deeper into the narrative, DREADMOOR shifts from simple survival toward piecing together the truth behind the Blight catastrophe and Malcolm's missing family. Completing deliveries for eccentric survivors like Gill, Bozur, and engineer John the Fifth gradually unlocks access to restricted waterways and deeper ocean trenches.
Remember that DREADMOOR rewards methodical preparation over reckless speed. Every upgraded boat module, every cleaned hull, and every carefully stored catch expands your operational range across the flooded world. By respecting the dangers beneath the waves and mastering both your trawler and your tackle, you can survive every horror the Submerged Lands throw your way and uncover the secrets waiting beyond the river gates.
Conclusion
DREADMOOR blends tense first-person survival horror with deeply satisfying fishing and boat management mechanics that make every voyage feel meaningful. While navigating fog-shrouded waters, managing fuel larvae, and fending off mutated creatures can feel overwhelming during your first few expeditions, mastering hull maintenance, catch separation, rod upgrades, and daylight route planning provides the foundation for consistent survival.
Whether you are just firing up the generator at the Church Settlement or preparing your reinforced trawler for deep-water expeditions, following the strategies in this guide will help you fish smarter, conserve vital resources, and unravel the dark mystery of the Submerged Lands. Keep your hull clean, watch your line tension, and never linger on the water after dark.